Photographing a classic car: a working guide to getting it right in one visit
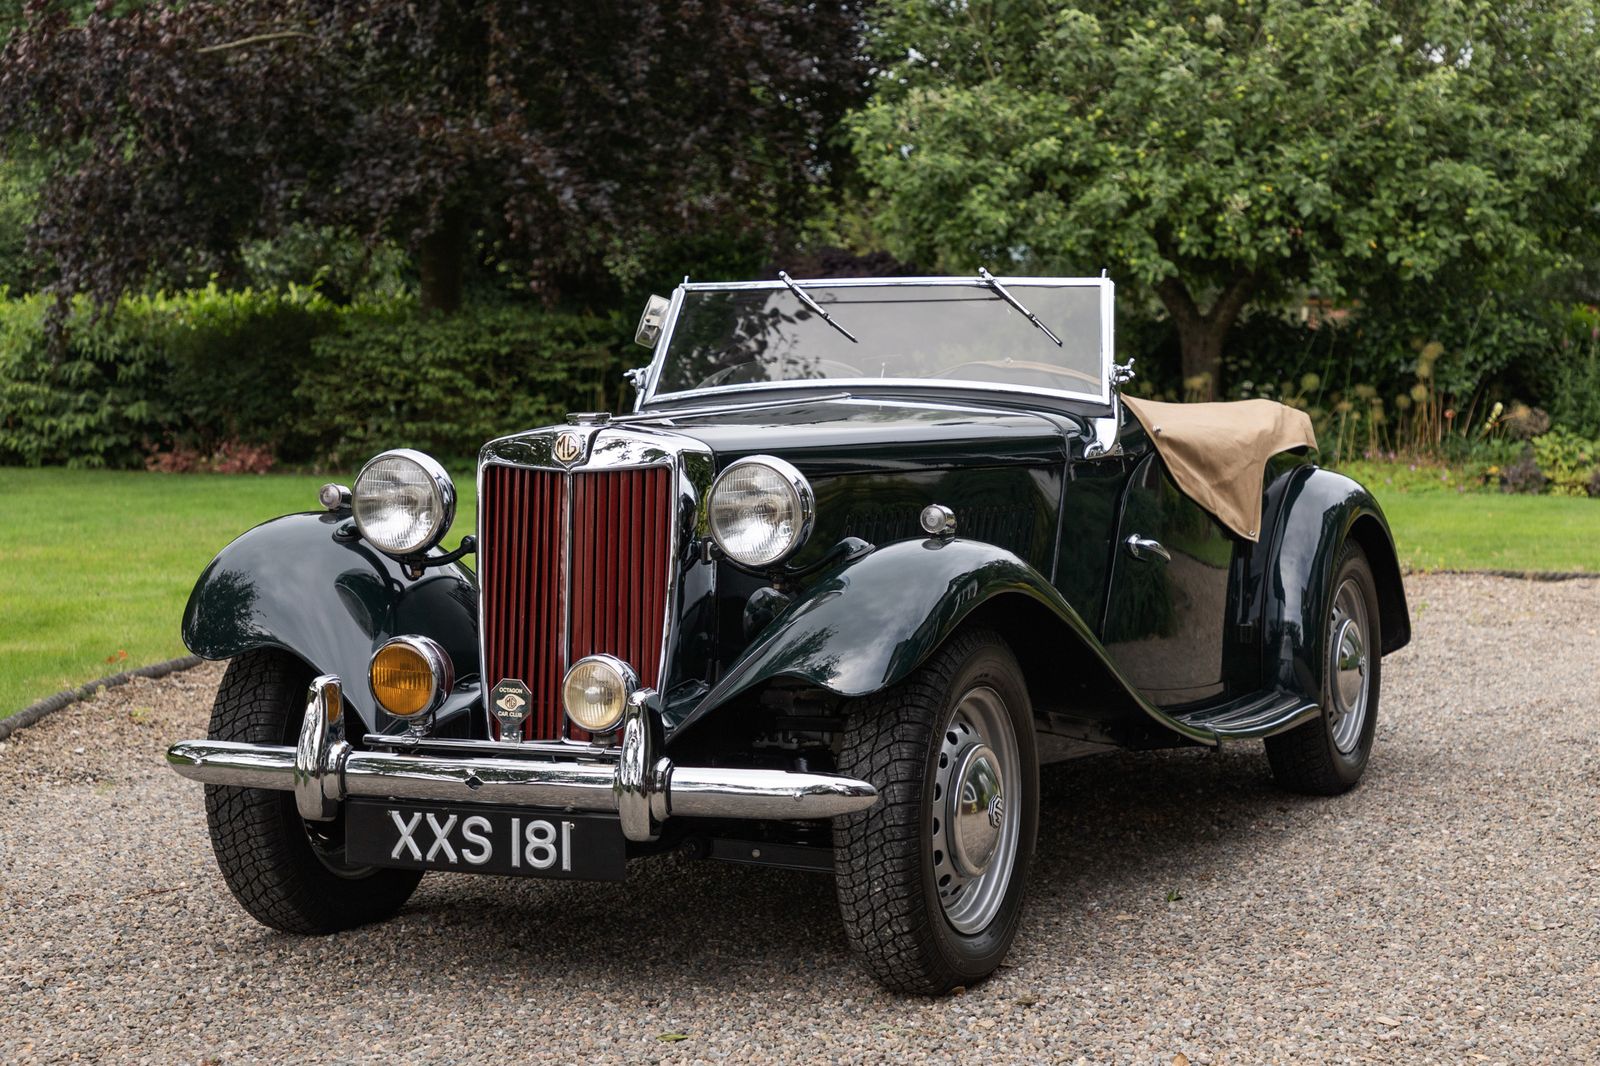
A modern car is comparatively easy to photograph. Flat panels, matte plastics, forgiving proportions. A classic is a different job: chrome that mirrors everything, curved glass that catches the sky, paint deep enough to show the shape of the cloud above you, and usually an owner standing nearby who knows the car intimately and will notice if you make it look wrong.
Most of the time you get one visit. Here is how I work them.
Before you lift the camera
- Ask what the car is to them. A twenty-year restoration, an inheritance, a concours entrant, a well-used weekend car. The answer tells you whether to shoot the immaculate engine bay or the patina on the seat leather.
- Ask about the registration. Classic owners often care a lot about whether the plate appears. Settle it before you shoot, not after.
- Walk the location first, without the car. Find where the background is clean and the light is even. Moving a classic three times because you didn’t look first is a good way to annoy its owner.
- Look for what will reflect. On chrome and deep paint, everything within about forty-five degrees of the panel ends up in the picture. Bins, a white van, a bright window, you.
Light: overcast is your friend
Bright sun is the enemy of chrome. It gives you a hard white line down every brightwork edge that no amount of editing recovers, and black shadows in the wheel arches at the same time. A bright overcast sky is one enormous softbox: the chrome picks up a gradient instead of a searing highlight, and the paint shows its shape.
If you do get sun, work early or late and put it behind or across the car rather than over your shoulder. Golden hour on old paint is worth the early alarm.
The shot list I work through
- Front three-quarter, standing height. The establishing frame. Wheels straight or turned slightly towards you, never away.
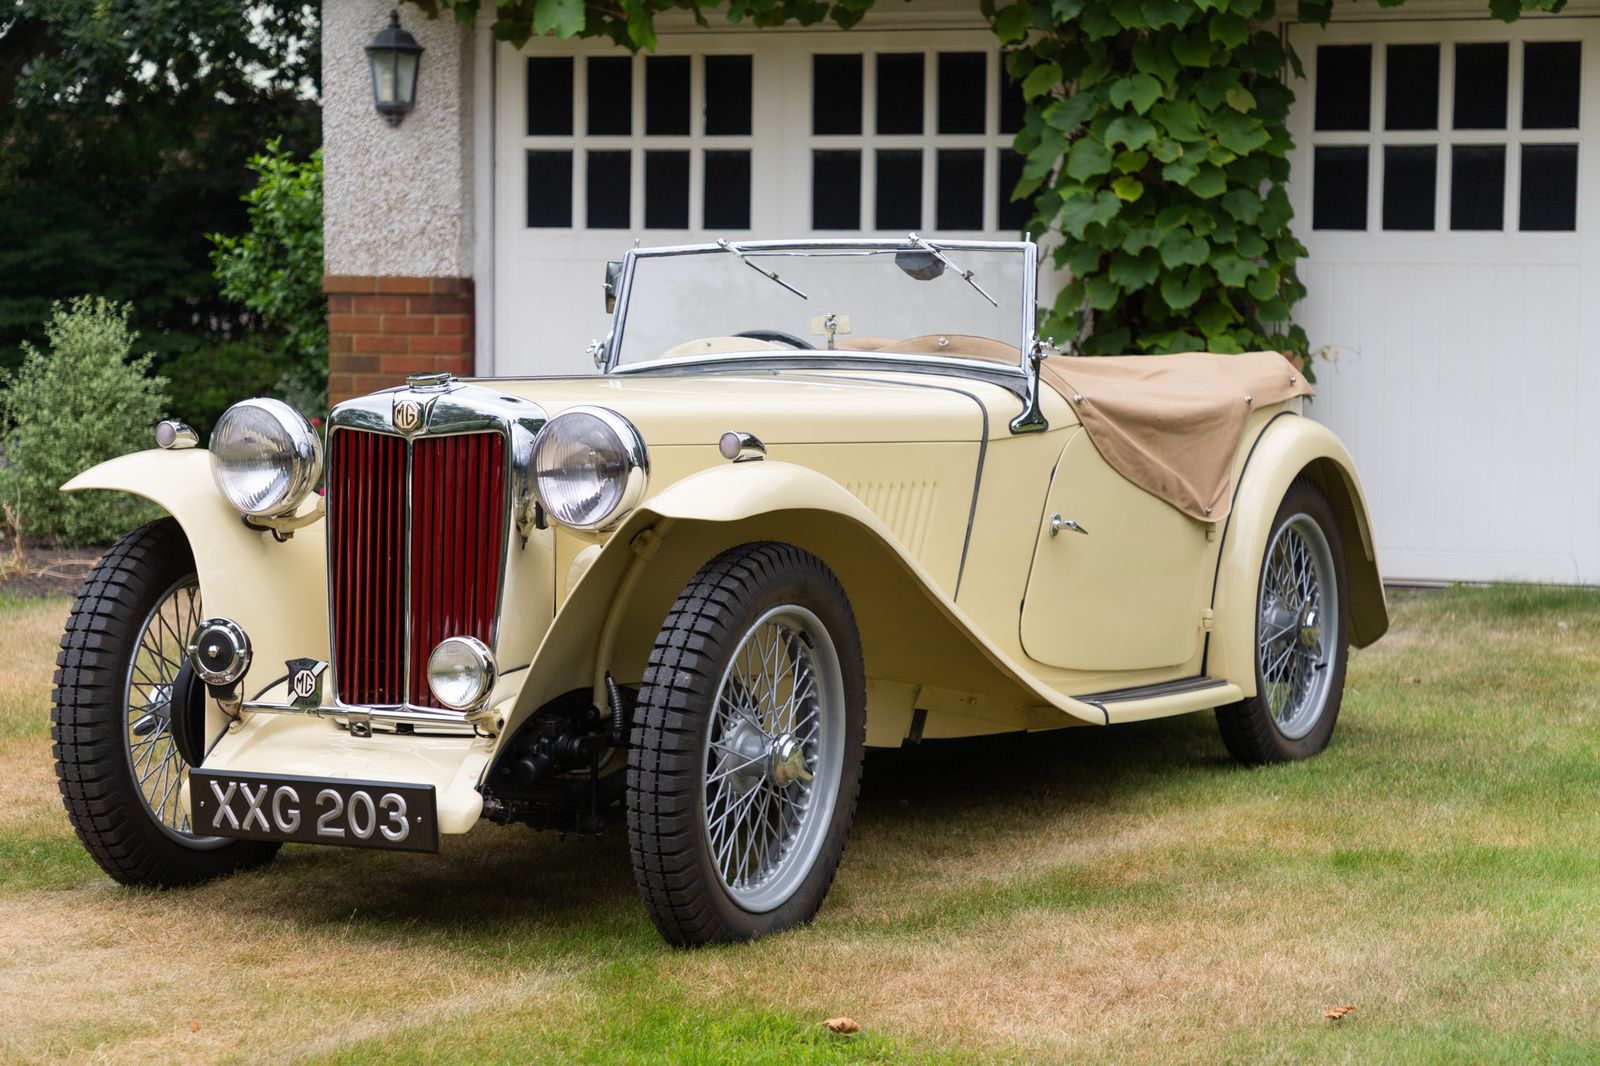
- Low front three-quarter. Down at headlamp height. This is where most pre-war and 1950s cars look their best, because it restores the presence they had when they were new and tall.
- Side profile, square on. Take the time to actually get square. On a classic the profile is the design, and a few degrees off makes the proportions look wrong in a way people feel without being able to name.
- Rear three-quarter and straight rear. Where the badges, the exhaust and the shape of the wings live.
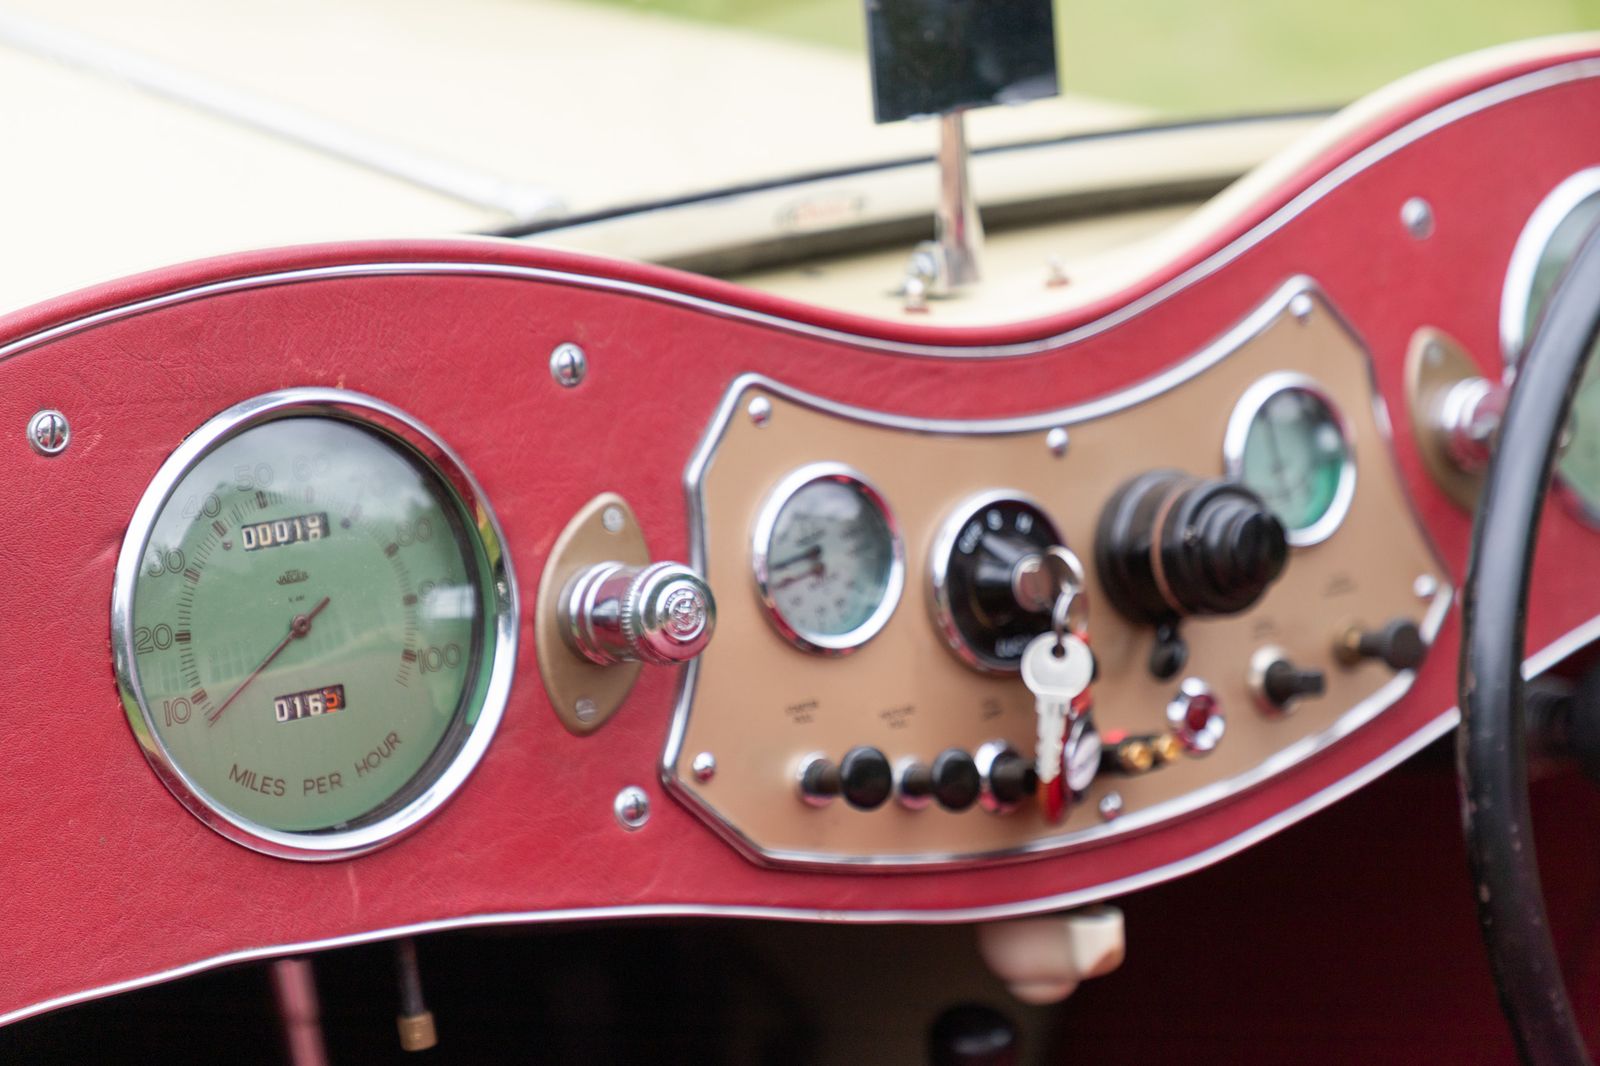
- The details that date it. Badge, grille, gauges, switchgear, hood irons, the spare wheel mount. These are the frames owners actually print.
- Interior, from the door aperture. Wide enough to show the dash and the seats. On an open car, shoot with the hood down and again with it up if it's well-fitted, because those look like two different cars.
- Engine bay. Non-negotiable on anything restored. Bonnet fully open, shot straight down and from a corner.
The technical bits that matter on old cars
- Stop down more than you think. A long bonnet at f/2 gives you a sharp badge and a soft windscreen. On a full-car frame I want the whole length of it usable — f/7.1 to f/11 depending on how close I am.
- Watch your own reflection. Then watch it again in the wheel spinners, the headlamp bowls and the hubcaps, which are effectively fisheye mirrors pointed at you.
- Mind the wheel angle. A wheel showing its inner rim looks broken. A few degrees towards camera looks intentional.
- Shoot for the crop you'll deliver. Owners' club magazines and auction listings want different shapes. Leave room.
Then comes the cull, which is where the time goes
Work a classic properly and you’ll come home with three to five hundred frames, arranged in clumps of six or eight at each position, differing only in reflection and wheel angle. From that you want maybe twelve to twenty finished images.
The comparison is the slow part — opening eight versions of the same low front three-quarter and deciding which has the cleanest flank. That’s the exact job Vantage is built for: it groups the repeated attempts so you choose one per angle, judges sharpness on the badge and near wheel rather than the whole frame, and handles the registration according to what you agreed with the owner.
The tool I built for exactly this
Vantage groups the walkaround, surfaces one hero per angle and handles plates per photo. Free to start, Mac and Windows, currently in beta.
Download Vantage On plate privacyCommon questions
What aperture should I use for classic car photography?
For full-car frames, f/7.1 to f/11 keeps the whole length usable — a long bonnet at a wide aperture leaves the windscreen soft. Open up only for deliberate detail shots of a badge or gauge.
What's the best light for photographing chrome?
Bright overcast. Direct sun puts a hard white line along every chrome edge that can't be recovered in editing, while a flat sky gives brightwork a smooth gradient and shows the shape of the paint.
How many photos should I deliver from a classic car shoot?
Twelve to twenty finished images covers a car properly: four exteriors, the details that date it, interior, engine bay. You'll shoot several hundred to get there.
Should the number plate be visible on a classic?
Ask the owner before you shoot. Many are proud of a registration and want it shown; others treat a valuable private plate as something not to broadcast. It's a two-second question that saves a re-export.